Making Compost and Choosing Organic Fertilizers for a Thriving Garden
Learn how to make compost and choose the right organic fertilizers for a healthy garden. The page gives step-by-step advice on composting, including what to add and how to manage it. It also explains how to use soil tests to pick the best organic fertilizers for your plants.
Ask any old-time gardener their secret and you’ll probably hear the same answer: feed the soil, not the plant. Rich, living soil grows strong plants that shrug off stress, and compost is the heart of it. Fall is the best season of the year to start. You’ve got piles of free leaves, spent garden plants, and months ahead for everything to break down before spring planting.
Key Takeaways
- Compost needs browns (carbon), greens (nitrogen), air and moisture.
- Aim for roughly three parts browns to one part greens by volume.
- Turn the pile every week or two for faster results. Leave it alone and it’ll still break down, just more slowly.
- Use organic fertilizers based on a soil test, and always follow label rates.
How Composting Works
Compost is simply organic material broken down by bacteria, fungi, worms and other soil life. Give those tiny workers the right balance of food, water and air and they’ll turn kitchen scraps and leaves into dark, crumbly, sweet-smelling humus.
Browns (carbon)
Dry leaves, straw, shredded cardboard and newspaper, wood chips in moderation, and dried plant stalks.
Greens (nitrogen)
Vegetable and fruit scraps, coffee grounds and filters, fresh grass clippings, garden trimmings, and manure from plant-eating animals like chickens, rabbits, goats, horses and cows.
Keep out of the pile
- Meat, fish, bones, dairy and greasy foods, which attract pests and smell.
- Dog and cat waste, which can carry parasites.
- Diseased plants and weeds that have gone to seed, unless your pile runs very hot.
- Plants or grass treated with persistent herbicides. Some can survive composting and damage your garden.
Building Your Pile
- Pick a spot that’s level, drains well and is convenient to both the kitchen and the garden.
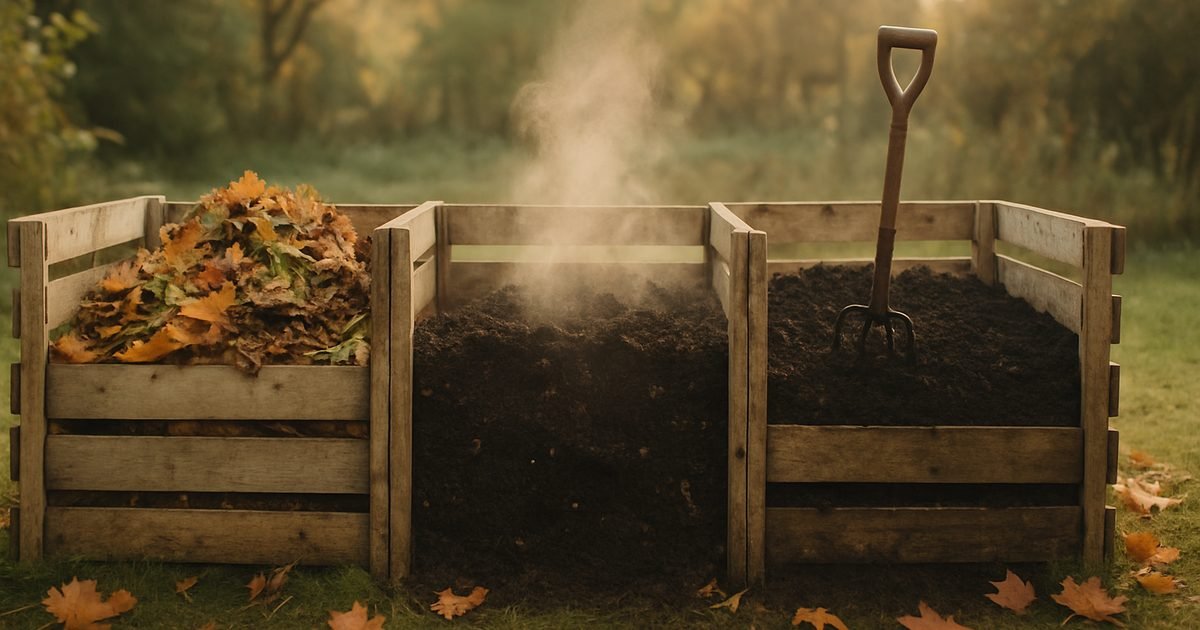
- Choose a container, or don’t. A free-standing pile works fine. Bins made from pallets, wire or scrap lumber keep things tidy, and a two- or three-bin system lets you turn from one bin to the next.
- Start with coarse browns on the bottom for airflow.
- Layer greens and browns, adding a shovelful of garden soil or finished compost now and then to introduce microbes.
- Moisten as you go, so the pile feels like a wrung-out sponge.
- Build it big enough. About 3 feet wide, deep and tall is the sweet spot for a pile to heat up.
Managing the Pile
- Turn it every week or two with a garden fork, moving the outside material to the middle.
- Check moisture. Too dry and it stalls; too wet and it smells sour. Add water or dry browns as needed.
- Watch the heat. A healthy pile can reach 130–160°F in the center. Steam on a cool morning is a great sign.
- Troubleshoot smells. An ammonia smell means too many greens, so add browns. A rotten-egg smell means it’s too wet and compacted, so turn it and add dry material.
Depending on how often you turn it, compost can be ready in anywhere from two months to a year. It’s finished when it’s dark, crumbly and smells like the forest floor.
Choosing Organic Fertilizers
Compost improves soil structure and feeds soil life, but hungry crops sometimes need an extra boost. That’s where organic fertilizers come in. Start with a soil test from your county extension office so you know what your soil actually needs.
Fertilizer labels list three numbers, N-P-K: nitrogen for leafy growth, phosphorus for roots and flowers, and potassium for overall plant health.
- Aged manure. A gentle, all-around soil builder. Age or compost fresh manure for several months before use. If you do use raw manure in a food garden, work it in at least 120 days before harvesting crops that touch the soil, and at least 90 days before harvesting other crops.
- Blood meal. High in nitrogen for leafy crops. Use sparingly, because too much can burn plants.
- Bone meal. A phosphorus source for root crops and flowering plants.
- Fish emulsion. A liquid, fast-acting nitrogen boost. It’s smelly but effective.
- Kelp or seaweed meal. Adds potassium and trace minerals.
- Alfalfa meal. A balanced, gentle fertilizer that also feeds soil life.
- Cottonseed meal. A slightly acidic nitrogen source that blueberries love.
Organic fertilizers work with soil microbes, which are most active when soil is warm and moist. Apply them in spring and during the growing season rather than on frozen ground. Skip biosolids (treated sewage sludge) for food gardens because of concerns about contaminants.
Frequently Asked Questions
Can I compost in winter?
Yes. The pile slows down in the cold, but it keeps working in the center, especially if it’s large. Keep adding scraps and it’ll take off again in spring.
Do I need a compost bin?
No. A simple pile works well. Bins mainly help with tidiness, pests and neighbors.
Is chicken manure good for the garden?
Very good, but it’s “hot.” Compost it or age it for several months before adding it to beds.
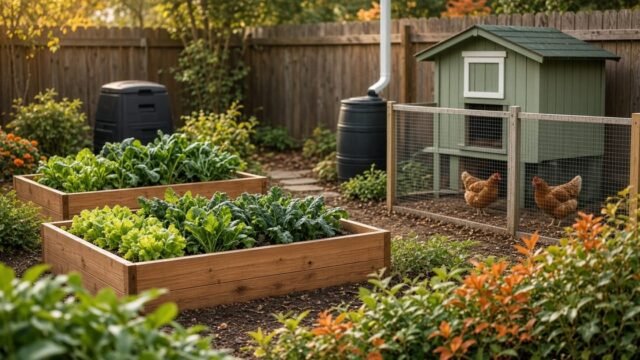
Healthy soil feeds everything else on the homestead. Put your finished compost to work in a new bed. Our raised garden bed guide is a great place to start, and a homemade greenhouse will love it too.
Get a printable compost checklist in our free Garden, Water & Energy pack, available in our Free Downloads library.
Prefer to watch or listen? More practical homestead tips are on our YouTube channel — short, useful, no fluff. Subscribe on YouTube → The Homestead Frontier
Get Weekly Homestead Know-How That Actually Works
Practical tips on gardening, food preservation, DIY repairs and self-reliance, straight to your inbox. Free, no fluff.
Free. Unsubscribe anytime. We never share your email.