Mastering Water Bath Canning Basics: A Guide for Beginners
This page is a beginner's guide to water bath canning. You'll learn how to preserve high-acid foods, like fruits and pickles, using basic tools and safe methods. Follow the steps and tips to safely store your homemade preserves for up to a year.
If you’ve just begun your journey into homesteading and self-reliance, learning how to preserve your harvest is a fundamental skill. Water bath canning is one of the simplest and most accessible methods to get you started on this path.
Key Takeaways
- Water bath canning is ideal for preserving high-acid foods like fruits, jams, and pickles.
- Essential equipment includes a large pot with a lid, canning jars, and a jar lifter.
- Understanding the processing time is crucial to food safety and quality preservation.
- Always follow tested recipes to ensure safe acidity levels and prevent spoilage.
Imagine your pantry lined with shelves of brightly colored jars filled with homemade preserves—fruits of your garden labor stored and ready for those long winter months. That is the future you can create with water bath canning.
Why Water Bath Canning?
Water bath canning is designed for high-acid foods, which naturally inhibit the growth of bacteria. This method is perfect for fruits, jams, jellies, pickles, and tomatoes (with added acid). Learning this technique can provide you with a reliable method of preserving these foods for up to a year.
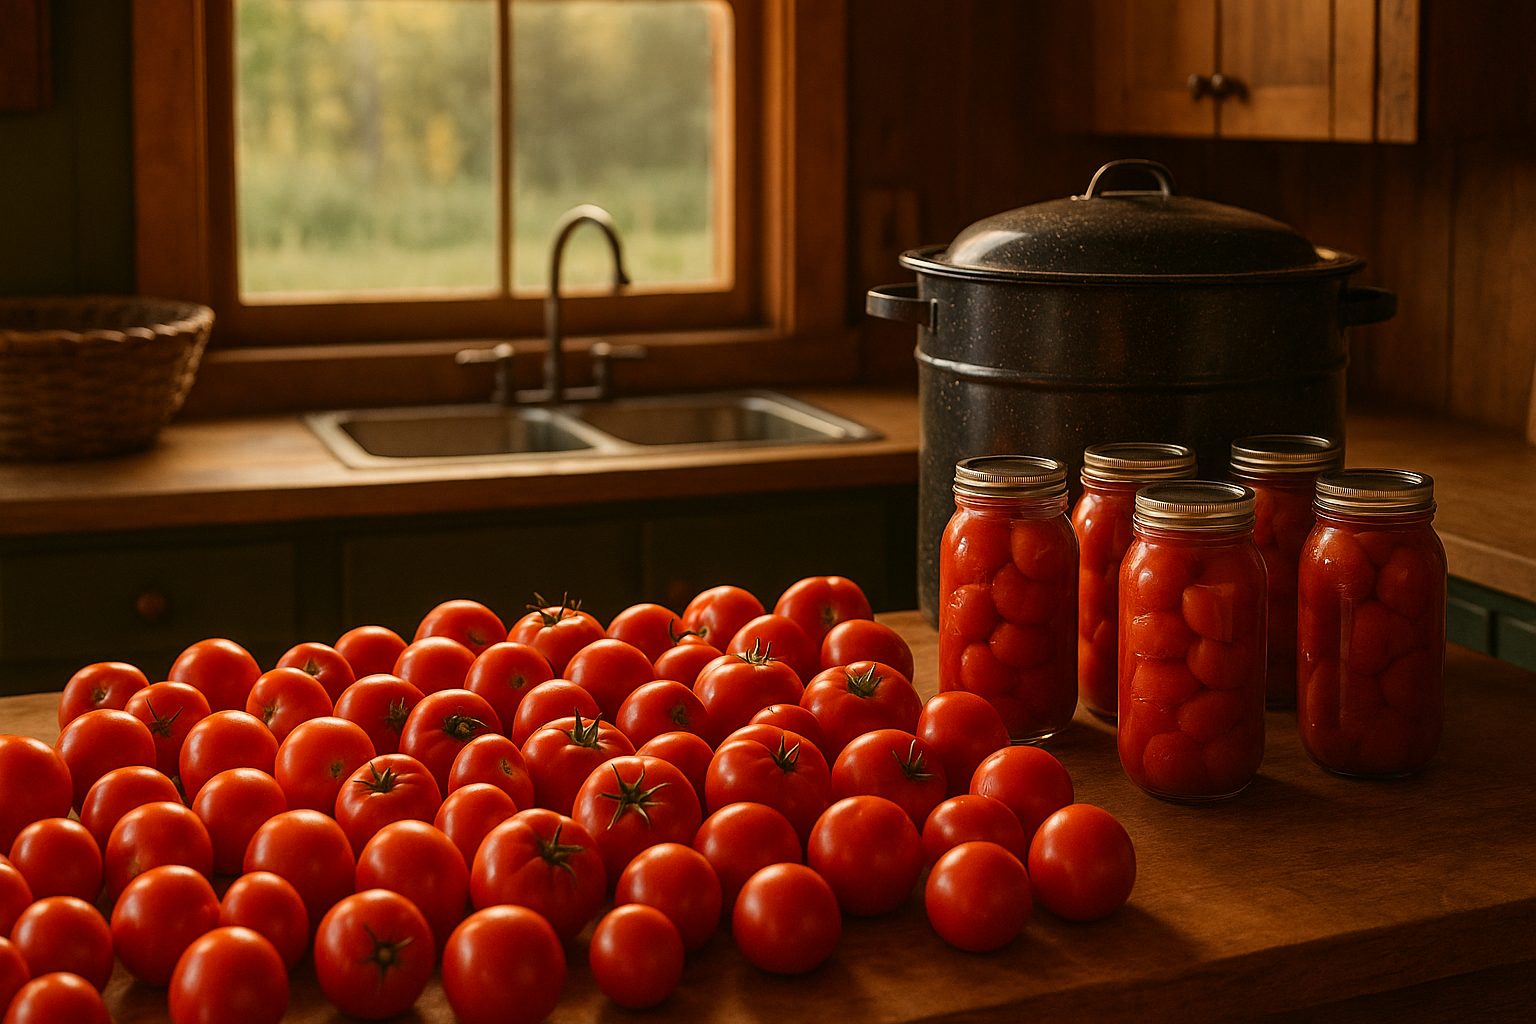
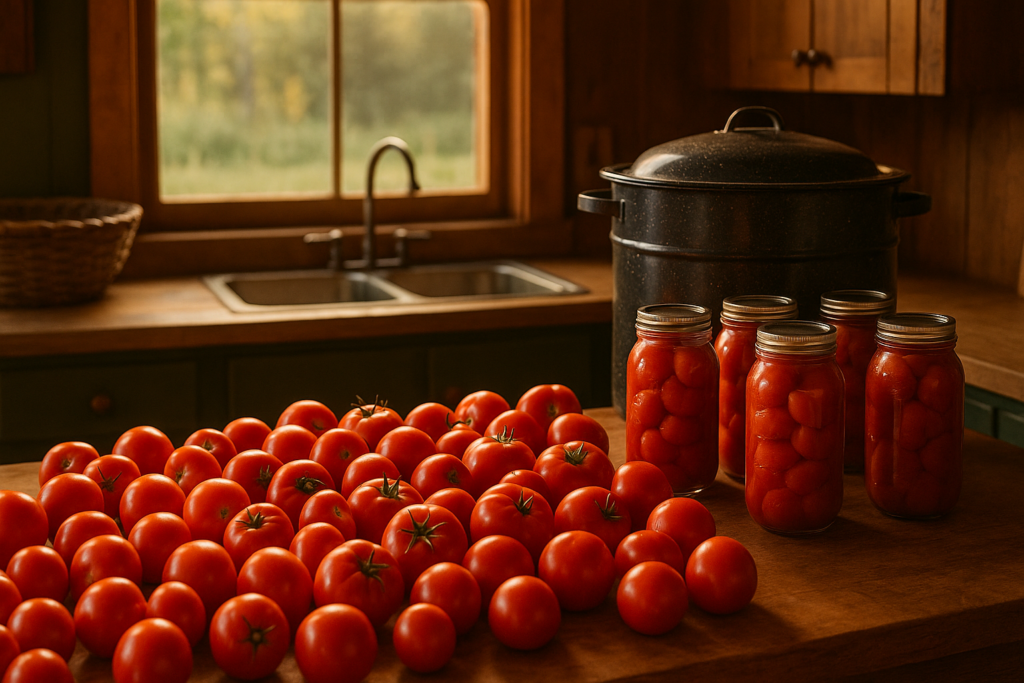
Canning at home may seem intimidating at first, but with step-by-step guidance, you will soon realize how straightforward it can be. You’ll need some basic equipment: a large stockpot or a dedicated water bath canner with a lid, canning jars, new two-part lids, a jar lifter, a funnel, and a rack or a kitchen towel to keep jars from direct contact with the bottom of the pot.
Getting Started: Essential Steps
- Prepare Your Equipment: Start by thoroughly cleaning your jars, lids, and tools with hot soapy water, and then rinse them well. Inspect the jars for nicks or cracks, as these can cause sealing failures.
- Fill and Seal Jars: Follow your chosen recipe to prepare the food. Ladle it into the jars using a funnel, leaving the recommended headspace (usually a half-inch). Wipe the rims of jars with a clean damp cloth to ensure a good seal, then apply the lids and screw on the rings until fingertip tight.
- Processing: Place the filled jars onto the canner rack or towel in the pot. Fill the pot with enough water to cover the jars by at least an inch and bring it to a rolling boil. Cover the pot and begin timing according to the recipe’s processing time.
- Cooling and Storing: Once processed, carefully remove the jars without tilting. Let them cool on a towel for 12-24 hours. Check for seals (the lids should be concave and not flex when pressed), remove the rings, and store them in a cool, dark place.
By mastering these steps, you ensure that your preserves will be safe and delicious.
Common Mistakes to Avoid
It’s easy to make mistakes when you’re just starting out, but being aware of common pitfalls can help you avoid them. One frequent error is ignoring the acid level requirements. Always ensure your recipe is tested and intended for water bath canning to maintain the safe acidity balance.
Another mistake is not adjusting processing time for altitude. The further above sea level you are, the longer you need to process. Check guidelines to determine if you need to increase the recommended time.
Also, never reuse lids; they are designed for one-time sealing purposes. Reused lids can lead to poor seals and spoilage.
Resources to Expand Your Skills
Being a part of a homesteading community can greatly enhance your learning experience. Here at The Homestead Frontier, Bob Moore’s guides and resources can offer further insights into safe canning practices.
Additionally, tuning into audio tips by Bob Moore can provide you with practical, on-the-go advice that deepens your understanding of not just canning, but other essential homesteading skills.
Frequently Asked Questions
Can I use any type of pot for water bath canning?
While you can use any large pot with a lid, it’s best if the pot is deep enough to cover your jars with at least an inch of boiling water. A dedicated canner with a built-in rack is ideal.
How can I know if my jars are sealed properly?
After cooling, lids should be concave and should not flex up and down when pressed. A sealed lid will make a satisfying “pop” when first broken.
Do I need to sanitize my jars before canning?
For jams, jellies, and foods processed for 10 minutes or more, washing jars with hot soapy water is sufficient. If your recipe calls for shorter processing times, pre-sterilize jars by boiling for 10 minutes.
How can I experiment with new recipes safely?
Always ensure new recipes you try have been tested by reliable sources. Adjusting ingredients without ensuring proper acidity can risk spoilage and health safety.
Now that you have the basics of water bath canning, you might want to explore further homesteading skills and insights. Visit our Welcome page for more practical skills geared towards a simpler, stronger tomorrow.
Prefer to watch or listen? More practical homestead tips are on our YouTube channel — short, useful, no fluff.
Get Weekly Homestead Know-How That Actually Works
Practical tips on gardening, food preservation, DIY repairs and self-reliance, straight to your inbox. Free, no fluff.
Free. Unsubscribe anytime. We never share your email.