
Build a Simple Raised Garden Bed for Abundant Harvests
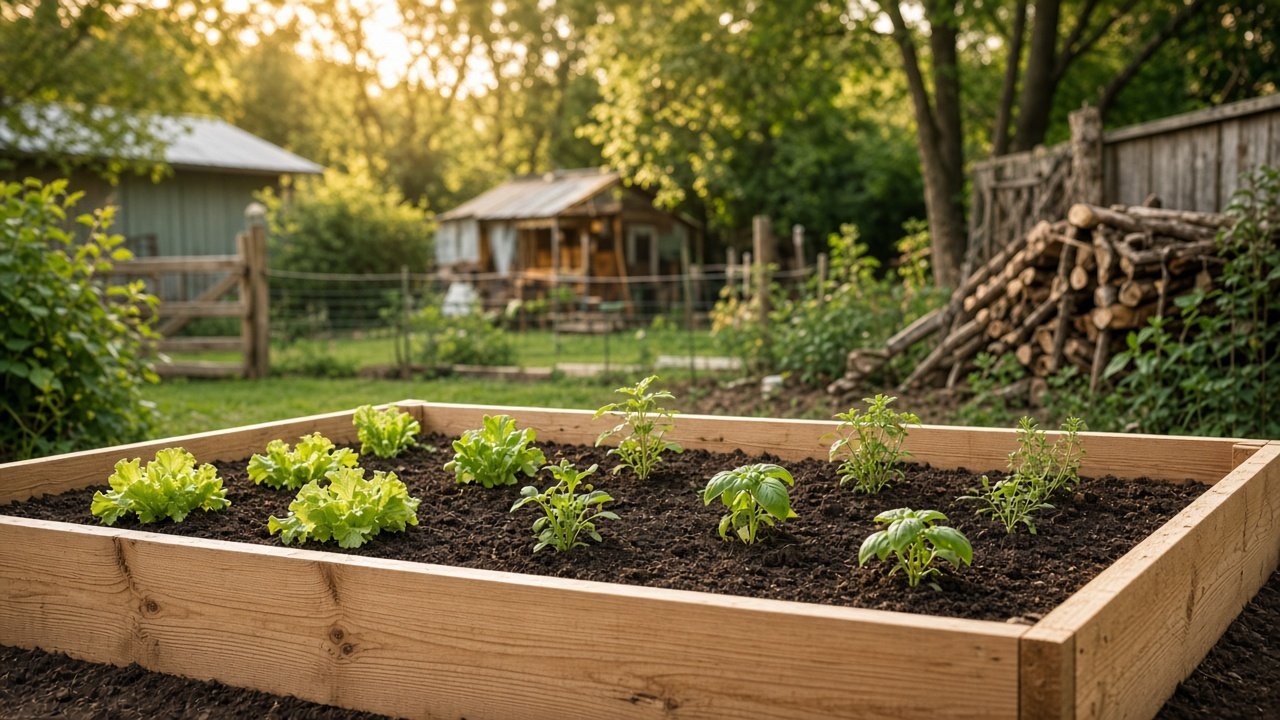
Learn how to build a simple raised garden bed to grow your own plants, even in small spaces or with poor soil. This page will guide you through choosing a sunny spot, gathering materials, building the bed, and preparing the soil. Follow the steps and start planting herbs, greens, or vegetables easily.
Building a raised garden bed is a great way to start or enhance your gardening journey. It’s practical, easy for beginners, and perfect for those with limited space or poor soil conditions. Let’s dive into how you can build your own raised garden bed in a weekend.
Key Takeaways
- Choose a spot with at least six to eight hours of sunlight daily for your raised garden bed.
- Use untreated wood to avoid chemicals leaching into your soil.
- Plan for good drainage by layering cardboard and soil correctly.
- Consider the convenience of reaching across the bed for easy planting and harvesting.
Finding the Perfect Spot
The first step in your raised garden bed adventure is location, location, location. Your bed will need six to eight hours of sunlight each day. Observe your yard at different times to ensure you aren’t choosing a spot that’s unexpectedly shady. Avoid septic tanks or areas with standing water as potential locations.
Gather the Essentials
You’ll need a few basic tools and materials to get started. These include untreated wood such as cedar or redwood for the sides of the bed, a drill, screws, a measuring tape, and a saw. Untreated wood is crucial since it ensures chemicals won’t leach into your soil. You can also opt for recycled materials like bricks or concrete blocks for a sustainable touch.
Wood Preparation and Measurement
Measure and saw the wood to your desired dimensions. A standard garden bed size is 4×8 feet, allowing easy access from both sides. Ideally, the bed should be 12 to 24 inches high. This height is comfortable for most plants and ensures a good depth for root growth.
Building the Frame
Once your wood is ready, it’s time to assemble. Position the wood pieces to form a rectangular box and drill them together at the corners. This structure is your garden bed’s frame and will house your plants for seasons to come. Confirm the frame is level on all sides so water distributes evenly.
For extra stability, consider adding corner braces. These are simple wooden or metal supports fixed diagonally across the corners to prevent movement. It’s a small step that can greatly enhance the lifespan of your garden bed.
Preparing the Base
Before you position the frame, take care of the ground below. First, clear the area of grass and weeds. A cardboard layer over the soil will help prevent future growth. Once laid, the cardboard will decompose and improve the soil below over time.
Next, consider filling the bottom with a variety of organic layers, a method known as lasagna gardening or sheet mulching. Start with coarse organic material, like twigs or straw, followed by layers of compost, manure, and a final topsoil layer. This rich blend provides ample nutrients and aids drainage.
Filling and Final Touches
With your base ready, fill the bed with a rich soil mix. A combination of 60% topsoil, 30% compost, and 10% coarse material like sand works wonders for most plants. Ensure that your final soil layer ends just below the frame’s edge to account for settling over time.
At this point, your raised bed is ready for planting. Stick to plants that complement each other’s growth habits. Herbs, salad greens, or root vegetables are great choices for beginners because they’re forgiving and suited to bed growing.
Maintain for Maximum Yield
A little ongoing attention will keep your garden bed thriving. Consistent watering in line with the needs of your plants is critical. Mulching with straw or leaves can help retain moisture and suppress weeds. Regularly check for pests or diseases, intervening early before they spread.
As you harvest and season by season, continue enriching the soil. Add more compost and rotate crops. Want more tips? Check out our Audio Tips for quick, actionable advice while you garden.
When your plants begin to produce, consider trying water bath canning to preserve some of that abundance for later. There’s a certain satisfaction in seeing jars filled with your own harvest lining the pantry shelves.
Frequently Asked Questions
What type of wood is best for a raised garden bed?
Untreated cedar and redwood are ideal due to their natural resistance to decay. Always avoid treated wood, which may contain harmful chemicals.
How deep should a raised garden bed be?
A raised garden bed should ideally be 12 to 24 inches deep. This depth is suitable for most plants as it allows ample room for roots to grow.
Can I build a raised bed on a patio?
Yes, you can! Ensure the surface has drainage and consider using a liner to contain soil. Opt for a more elevated style to avoid soil contact with the patio.
What should I plant in my raised garden bed?
Start with herbs, salad greens, or root vegetables. These are easy for beginners and thrive in raised beds. Rotate crops to maintain soil health.
Building your own raised garden bed not only boosts your gardening efficiency but also brings you closer to self-reliance. Embrace the journey and remember to Subscribe on YouTube → The Homestead Frontier for more hands-on homesteading guides!
Get Weekly Homestead Know-How That Actually Works
Practical tips on gardening, food preservation, DIY repairs and self-reliance, straight to your inbox. Free, no fluff.
Free. Unsubscribe anytime. We never share your email.