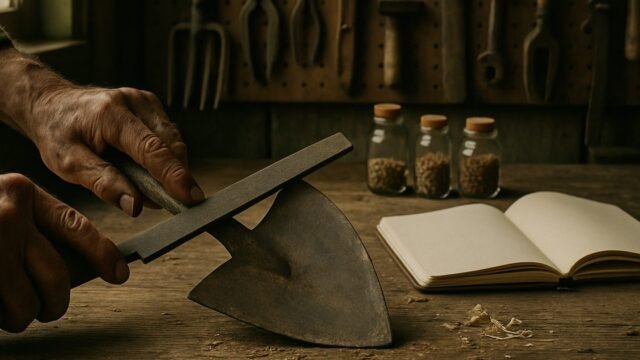
How to Care for Wooden Tool Handles: Sanding, Oiling, and Replacing
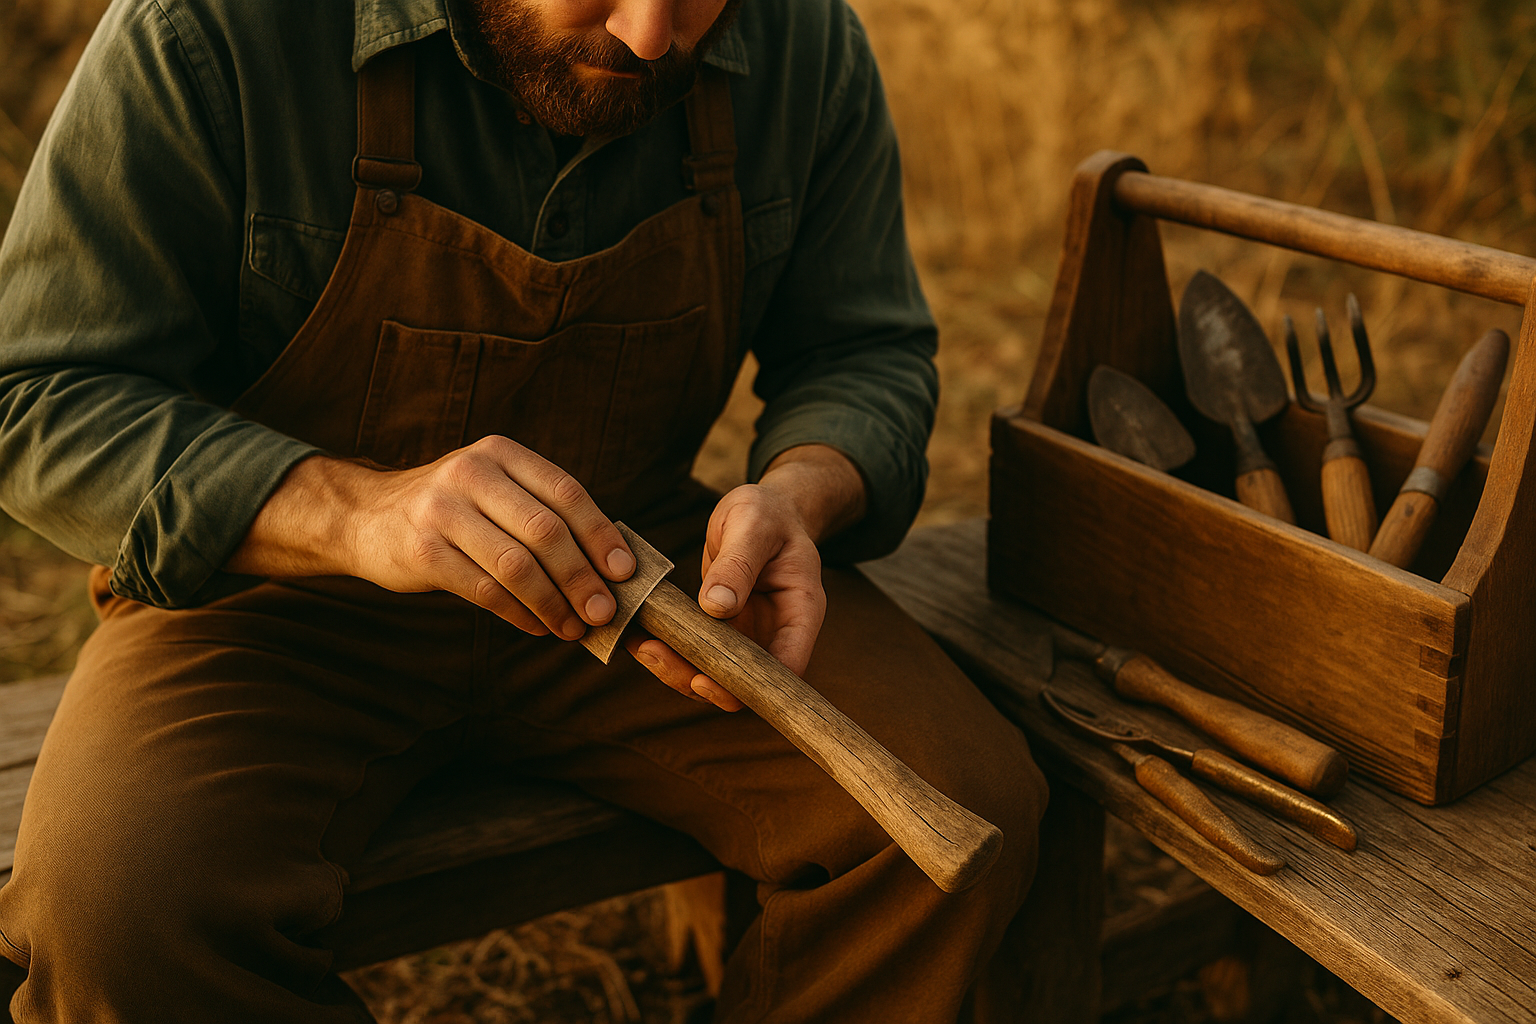
Learn how to care for your wooden tool handles by sanding, oiling, and replacing them if needed. This guide helps you understand the steps to keep your tools in good shape and safe to use. Enjoy longer-lasting tools with regular maintenance.
If you’re using wooden-handled tools on the homestead, you’ve probably noticed the wear and tear from regular use. Over time, moisture and dirt can deteriorate the wood, leading to cracks and splinters. To ensure safety and prolong the life of your tools, caring for wooden handles is a must.
Key Takeaways
- Sanding is crucial for removing rough spots and old finish from wooden tool handles.
- Oiling helps condition and protect the wood, preventing cracks and splits.
- Replacing a handle is sometimes necessary and requires choosing the right type of wood.
- Regular maintenance improves safety and extends the lifespan of your tools.
Sanding: Creating a Smooth Finish
The first step in maintaining wooden tool handles is sanding. Begin with a medium-grit sandpaper, like 100 grit, to remove any old finish or rough spots. Use long strokes along the grain of the wood. This helps expose fresh wood and smooths out any splinters.
Once you’ve sanded with medium-grit, switch to a finer grit (around 220 grit). This second pass softens the surface, ensuring it feels good in your hands. Wipe off any dust with a clean cloth, making sure the handle is free from any remaining particles before moving to the next step.
Remember, consistent sanding is particularly important if you notice splinters or if the handle feels rough, which can lead to blisters. Keep the handle smooth, and you’ll avoid unnecessary accidents.
Oiling: Protect and Preserve
Oiling your tool handles not only revitalizes the wood but also acts as a protective barrier. Linseed oil is a traditional choice. Apply it with a clean rag or brush, ensuring you cover the entire handle. Allow the oil to soak in for 15-20 minutes. If the handle looks dry, repeat the process.
Mental note: always apply oil in a well-ventilated area to avoid inhaling fumes. Once the oil has penetrated the wood, wipe off any excess with a dry cloth. This leaves a smooth and non-greasy finish.
Doing this at least once a year will keep the wood nourished, preventing it from drying out, shrinking, or cracking. A well-oiled handle provides a stronger grip and keeps your tools looking like new.
Replacing Tool Handles
Sometimes, despite your best efforts, a handle may be too damaged to save. If the wood is cracked or split, replacing the handle is your safest option. First, remove the old handle by carefully using a saw and chisel or a wooden mallet to dislodge it from the tool.
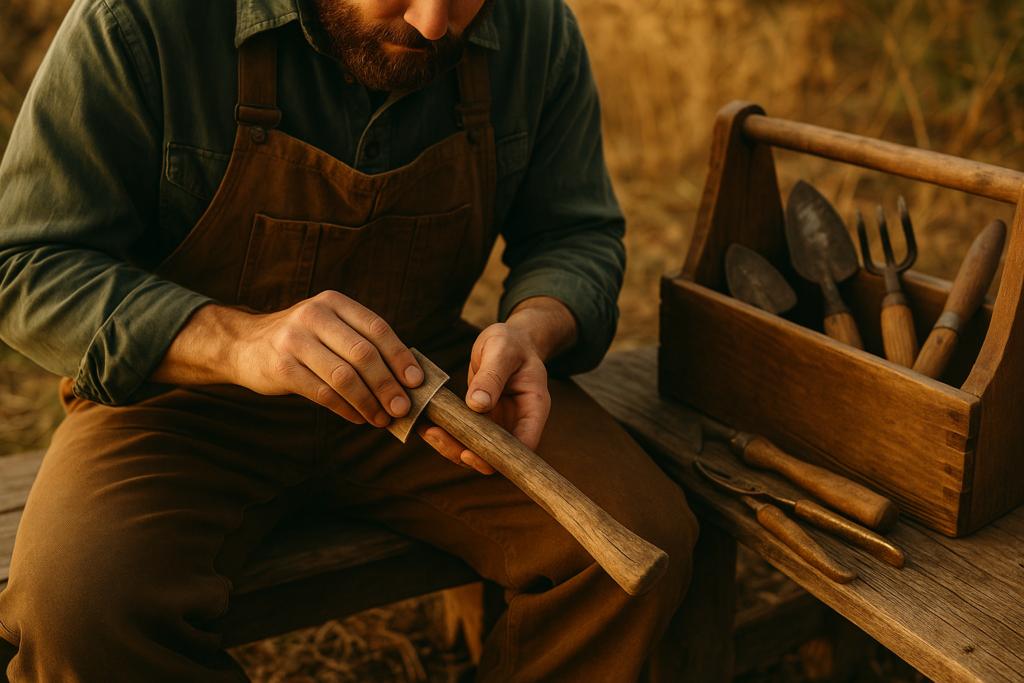
When choosing a replacement, opt for high-quality hardwood, such as hickory or ash. These types of wood are known for their strength and shock-absorbing properties, perfect for tools like axes or hammers.
Once you’ve selected and prepped a new handle, insert it into the tool, ensuring it fits snugly. You may need a wooden wedge to secure it in place. Before using the tool, give it a thorough inspection to make sure the handle is firmly attached and not wobbly.
Regular Maintenance: Your New Routine
Establishing a routine for maintaining your tool handles will save you time and money. After each use, clean your tools and store them in a dry place. Moisture is the enemy of wooden handles and can lead to mold or rot.
To further enhance your homesteading efficiency, consider learning other practical skills. For instance, check out our 12 Skills Every Homesteader Should Learn, which covers essential skills like maintaining tools and equipment.
And speaking of equipment, if you’re planning on expanding your garden, our Gilmour Round Soaker Hose Review could be just the thing to improve your watering routine.
Frequently Asked Questions
Why should I sand my tool handles?
Sanding removes rough spots and old finishes, preventing splinters and improving grip. It also preps the wood for oiling, which enhances protection.
How often should I oil my tool handles?
A good rule of thumb is to oil your tool handles once a year or whenever the wood appears dry or starts to crack. Frequent use may require more frequent oiling.
What kind of oil is best for wooden tool handles?
Linseed oil is the most traditional choice for wooden tool handles. Other options include tung oil or even mineral oil, particularly if you’re looking for something non-toxic.
When should I replace a tool handle instead of repairing it?
If the handle is severely cracked, split, or feels weak, replacement is safer. Check for instability or any significant structural damage that can’t be smoothed out or repaired.
Don’t let worn tools slow you down. Taking the time for maintenance not only extends the life of your equipment but also makes daily tasks safer. Join us as we explore more homesteading tips and tricks by subscribing on our channel: Subscribe on YouTube → The Homestead Frontier.
Get Weekly Homestead Know-How That Actually Works
Practical tips on gardening, food preservation, DIY repairs and self-reliance, straight to your inbox. Free, no fluff.
Free. Unsubscribe anytime. We never share your email.