Canning Supplies Checklist: Everything You Need Before Your First Batch
Learn what supplies you need to start canning at home, including essential tools and ingredients. This page provides a checklist, safety tips, and guidance on what to buy or avoid. Get started with confidence using tested recipes and helpful resources.
In our guide to mastering water bath canning basics, we walked through the process step by step. The most common follow-up question was simple: What do I actually need to buy? Here’s the complete checklist, sorted into what’s essential, what’s handy and what to skip.
Key Takeaways
- A few inexpensive tools make canning safer and much easier.
- Use new lids every time. Jars and bands can be reused.
- Low-acid foods (most vegetables, meats, beans) require a pressure canner. No exceptions.
- Always follow a current tested recipe from the USDA, the National Center for Home Food Preservation or a reputable canning guide.
The Essentials
Jars
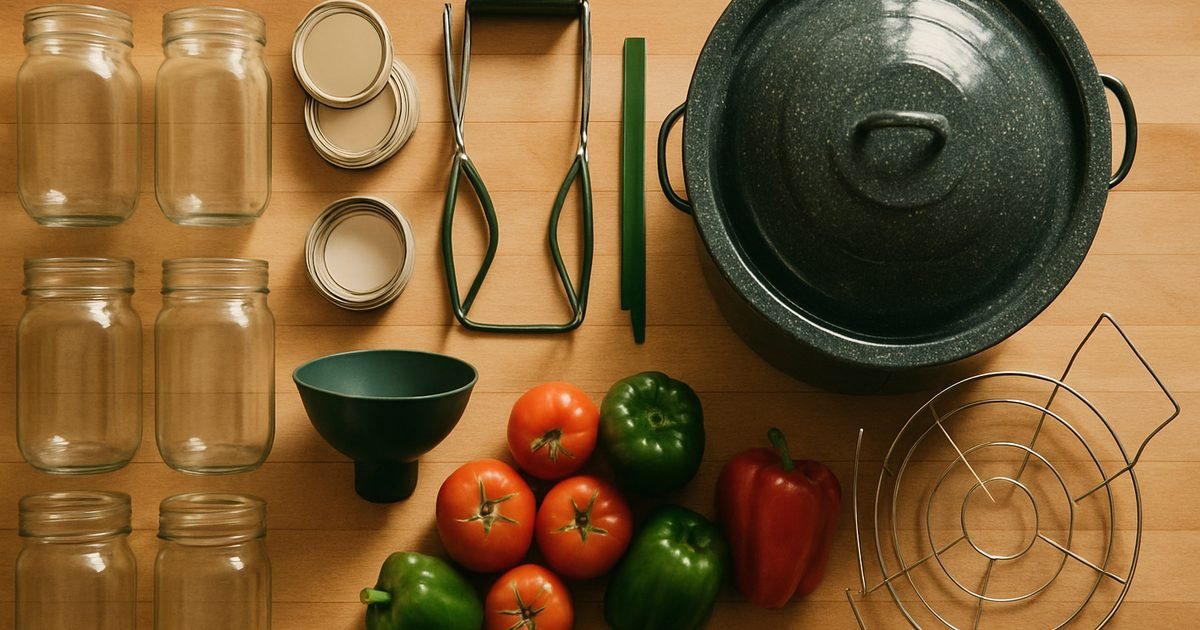
Use mason jars made for home canning, in the sizes your recipe calls for: half-pints for jams, pints and quarts for most everything else. Inspect every jar for chips and cracks along the rim. Skip old mayonnaise or pasta sauce jars, which aren’t made for repeated canning.
Lids and bands
Two-piece lids are the standard. Use new flat lids for every batch, because the sealing compound is designed for one use. Bands can be reused as long as they aren’t rusted or bent.
A canner
- Water bath canner: A large, deep pot with a rack, deep enough to cover jars with at least 1 inch of water. It’s for high-acid foods like fruits, jams, pickles and properly acidified tomatoes.
- Pressure canner: Required for low-acid foods like green beans, corn, meats and soups. A pressure cooker or electric multicooker is not a substitute, even if it has a canning setting. Dial gauges should be tested for accuracy every year; many extension offices do it free.
Basic tools
- Jar lifter: For safely moving hot jars in and out of the canner.
- Canning funnel: Keeps jar rims clean.
- Headspace tool / bubble remover: Measures headspace and releases trapped air.
- Magnetic lid wand: Handy for lifting lids out of hot water.
- Clean kitchen towels: For wiping rims and setting hot jars on.
- Ladle, large spoons and a timer.
Ingredients
- Fresh, high-quality produce at its peak, never overripe or damaged.
- Canning or pickling salt (table salt can cloud brine).
- Vinegar of at least 5% acidity.
- Bottled lemon juice or citric acid for acidifying tomatoes. Bottled juice has consistent acidity, while fresh lemons vary.
- Pectin, if your jam recipe calls for it.
Nice to Have
- A large stockpot for preparing food.
- A food mill or strainer for sauces and purées.
- A kitchen scale.
- A cutting board and sharp knives.
- Labels and a marker for the contents and the date.
- A notebook for recording recipes, batches and results.
What to Skip
- Paraffin wax for sealing jams. It’s no longer recommended.
- Oven canning and open-kettle canning (filling hot jars and just letting them seal). Neither is safe.
- Vintage canning books unless you check the recipes against current tested guidance. Recommendations have changed.
- Untested internet recipes, especially for low-acid foods.
Safety Reminders
- Keep jars hot until you fill them. Hot food in cold jars can crack glass, and many recipes depend on hot jars and hot fill. Jars need sterilizing only when the water bath processing time is under 10 minutes; otherwise, clean and hot is enough.
- Adjust for altitude. At higher elevations (generally above 1,000 feet), water bath times or pressure canner settings must increase. Your tested recipe will tell you how.
- Leave the correct headspace stated in the recipe.
- Check seals after 12–24 hours. Refrigerate and eat any unsealed jars within a few days.
- Store sealed jars without bands, in a cool, dark, dry place, and use them within about a year for best quality.
- When in doubt, throw it out. Never taste food from a bulging, leaking or foul-smelling jar.
Frequently Asked Questions
Can I reuse canning lids?
Not for canning. Use them for dry storage instead.
Do I need a pressure canner to start?
No. Start with water bath canning of high-acid foods like jams, pickles and tomatoes. Add a pressure canner when you’re ready for vegetables and meats.
Where can I find tested recipes?
The National Center for Home Food Preservation (nchfp.uga.edu), the USDA Complete Guide to Home Canning, and your county extension office are all excellent sources.
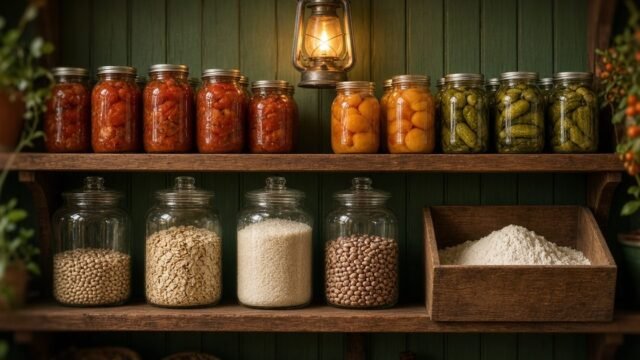
With these supplies in hand, you’re ready to fill your shelves. Put your jars away in a well-planned homestead pantry, and listen to more quick tips on our Audio Tips page.
Get a printable food preservation checklist in our free Food, Pantry & Kitchen pack, available in our Free Downloads library.
Prefer to watch or listen? More practical homestead tips are on our YouTube channel — short, useful, no fluff. Subscribe on YouTube → The Homestead Frontier
Get Weekly Homestead Know-How That Actually Works
Practical tips on gardening, food preservation, DIY repairs and self-reliance, straight to your inbox. Free, no fluff.
Free. Unsubscribe anytime. We never share your email.